Installing a Fluidampr Balancer on Our ‘94 Dodge RAM 2500
If you’ve been following along the past few months, we’ve been in a mad rush to get our Stock To Not 12-valve Cummins project going as quickly as possible. We’ve upgraded everything on this engine to make it support our 700hp goal and then some, but there’s one piece that we’ve been wanting to do, but haven’t yet—replacing the truck’s stock harmonic balancer. Nick from Fluidampr comes to the rescue.
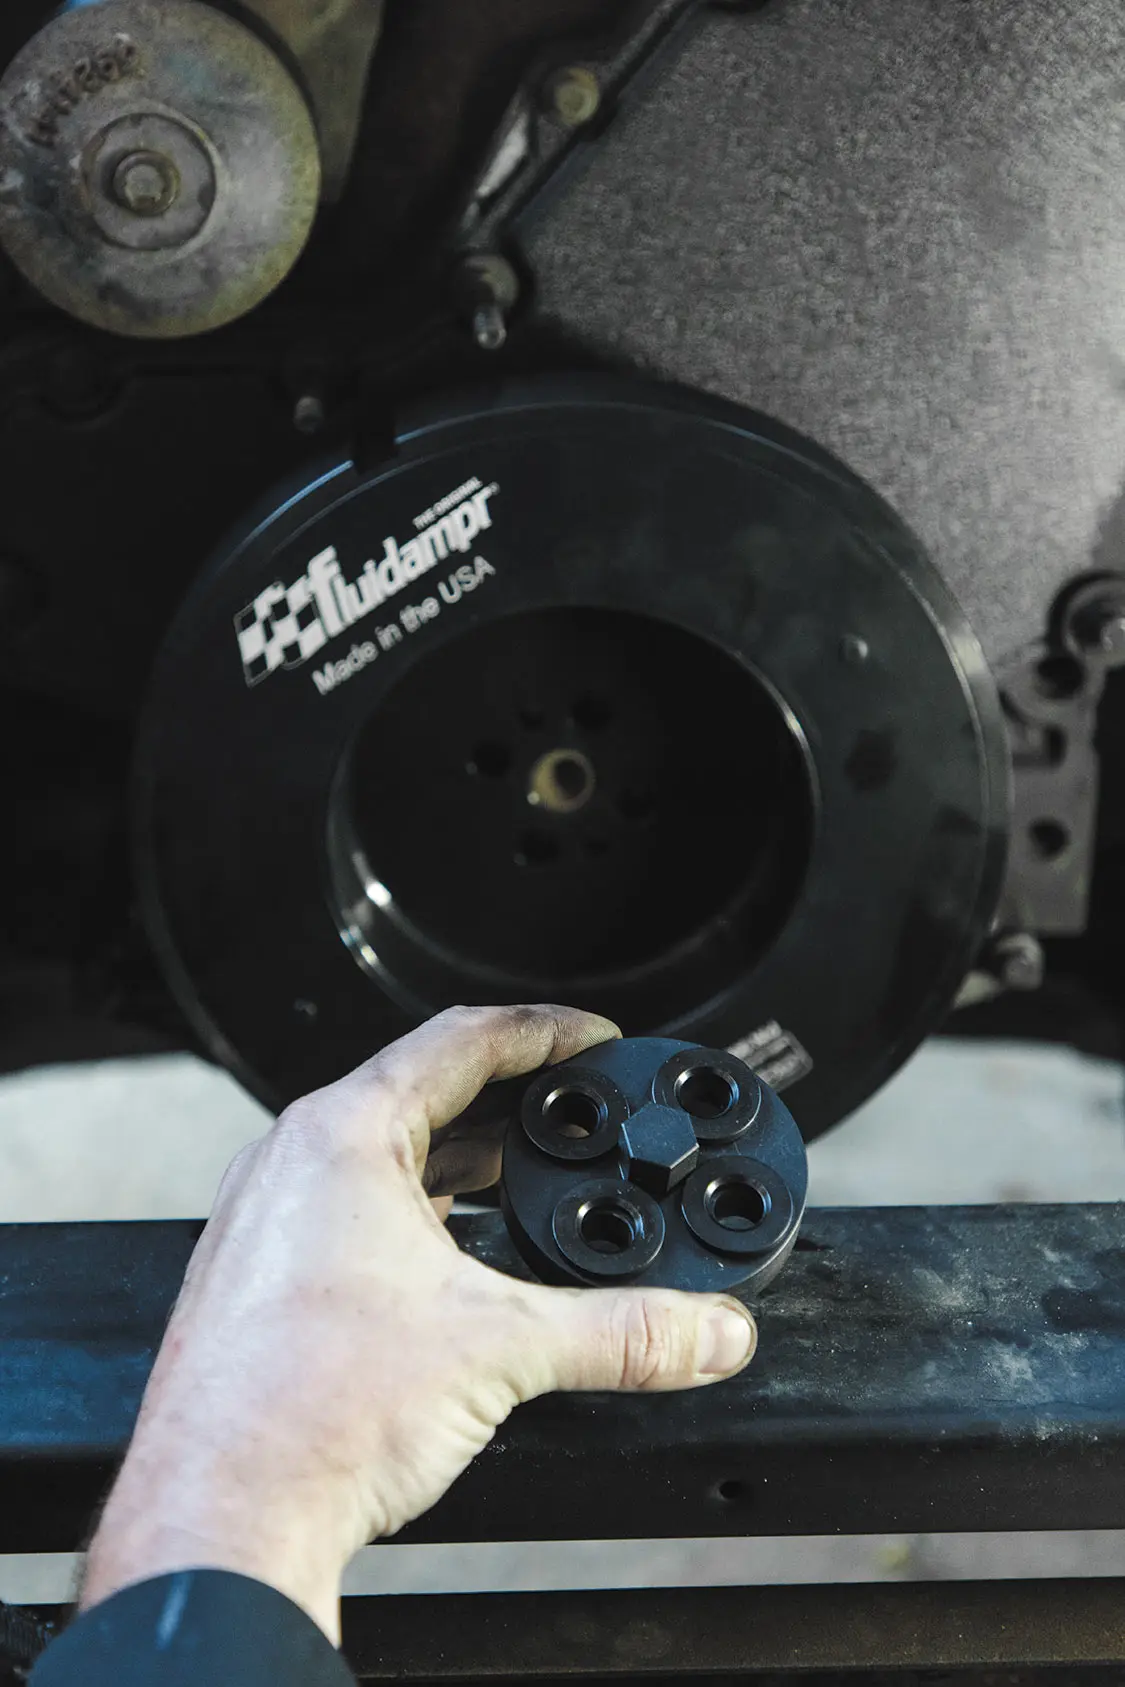
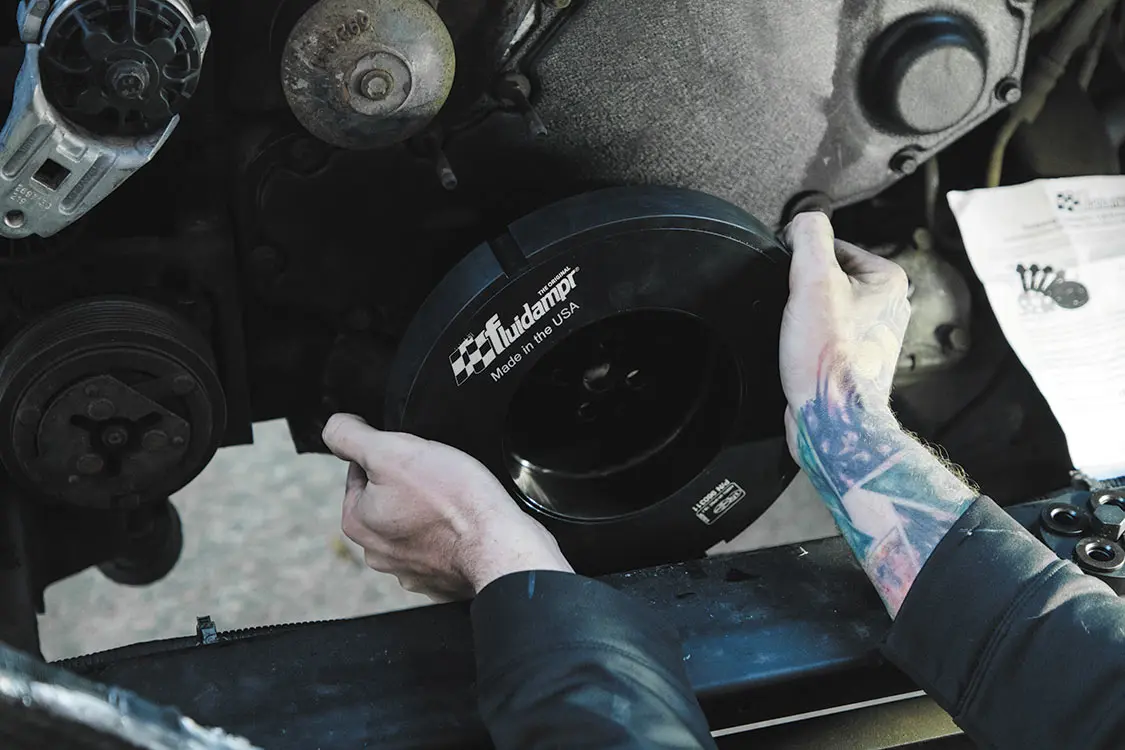
Today we’re going to install a diesel performance Fluidampr kit on our RAM! These dampers do not need to be retuned or rebuilt, because they self-tune in real time according to the harmonics produced by the engine across the entire RPM range. It’s built to last the life of the engine and is also a SFI-certified product that is made in the USA.
This kit includes a damper itself, a full power kit, with extended bolts, (part#300008) and a crank sensor relocation kit, (part#300003). Make sure you have a powerful ½-inch impact and/or a barring tool to keep your crank from spinning over, and a torque wrench to finish the project.
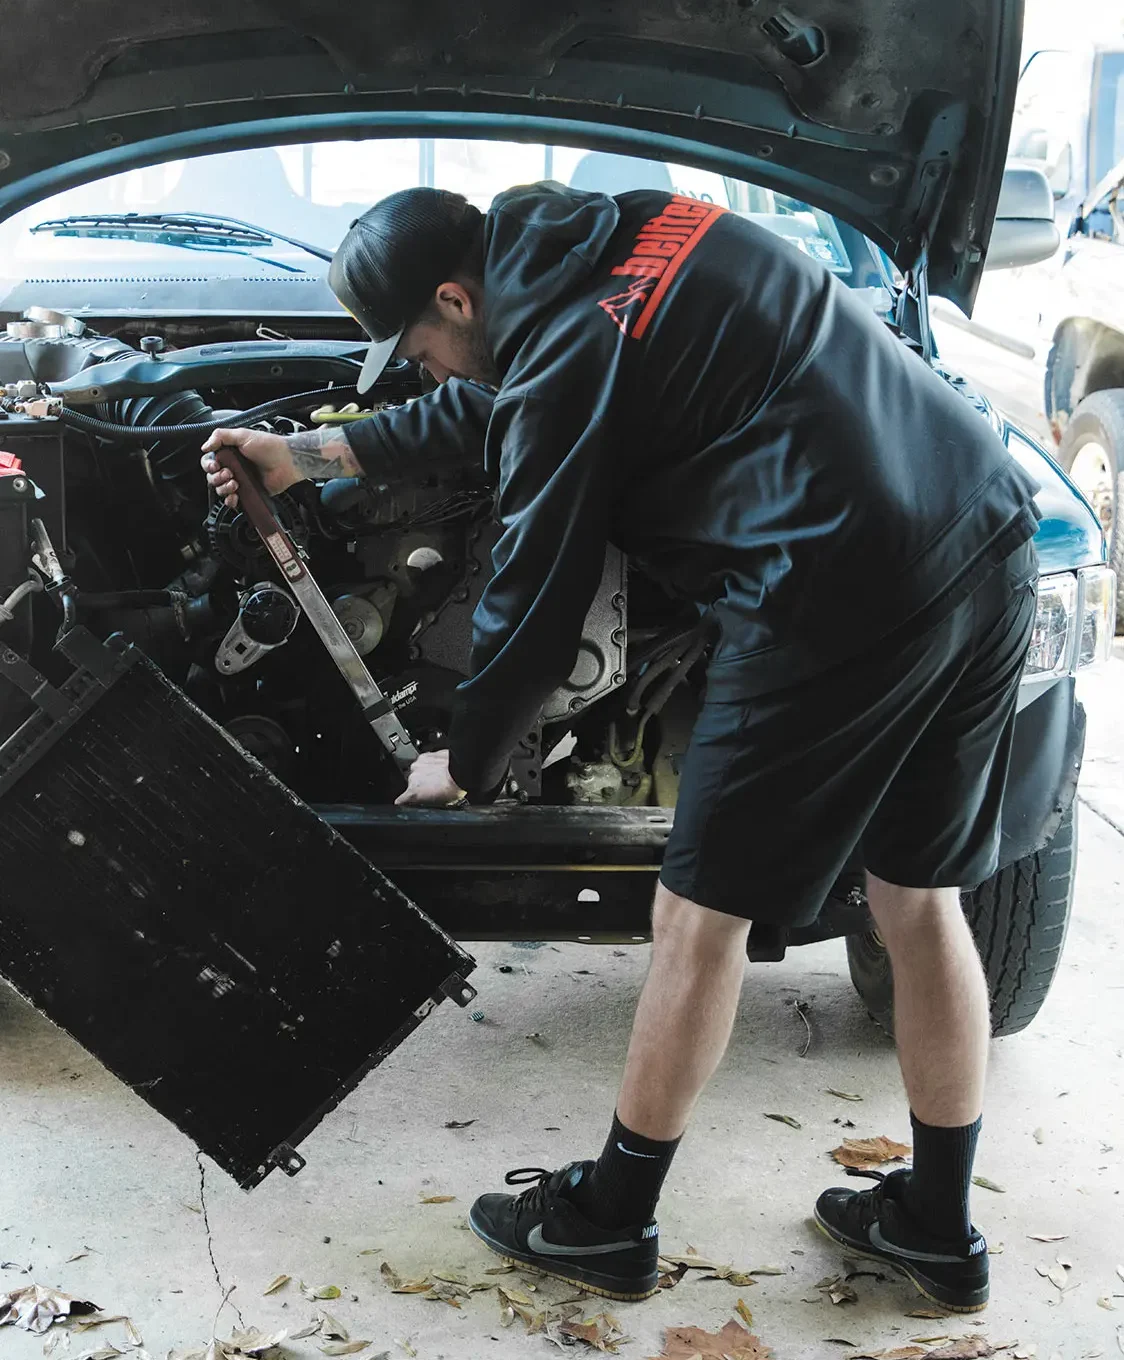
As you can see, we opted to take the intercooler, radiator, and fan clutch off so we had a big open space to show this installation, but it isn’t necessary for installation.
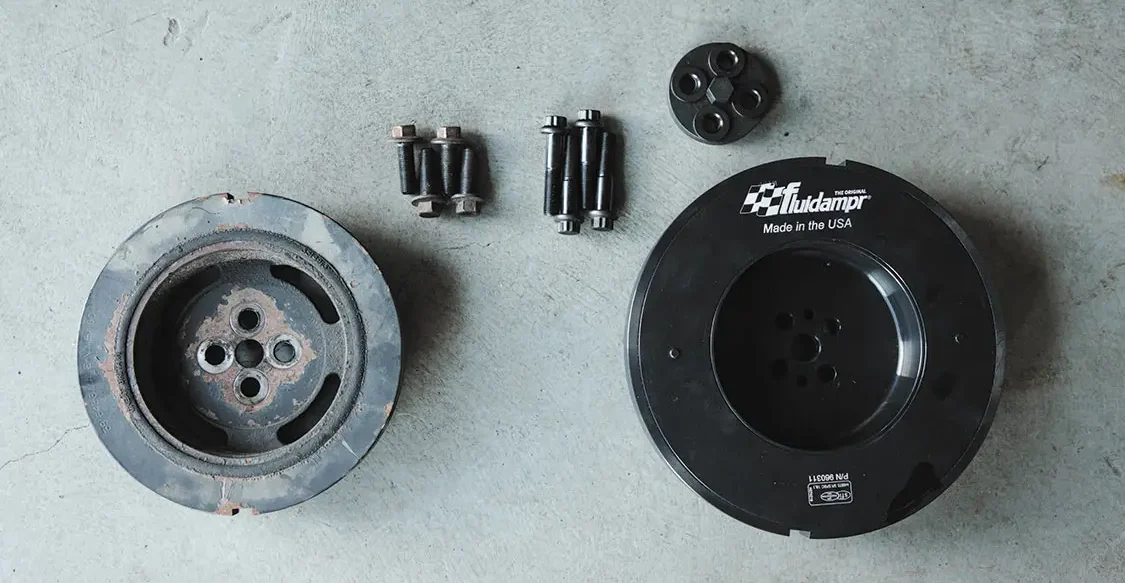
Step 1 Then, remove the damper that is stuck to the crankshaft and unscrew the sensor from its original position. Ours may look a little weathered, but it honestly isn’t in too terrible of shape (the rubber is still between the two pieces of metal).Step 2 After removing the old bolts, damper and bolts from the truck, you can open the complete power kit. Line up the friction washer to the bolt holes.Step 3 Apply anti-seize to the bolts washers torque plate and bolts.
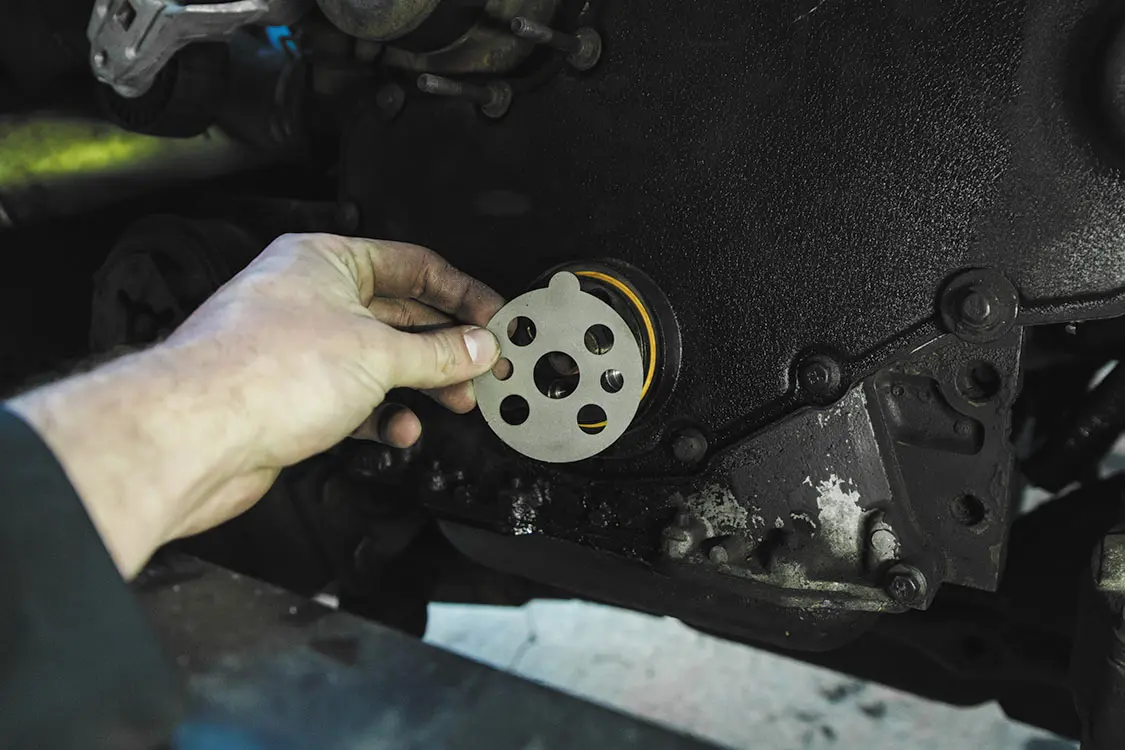
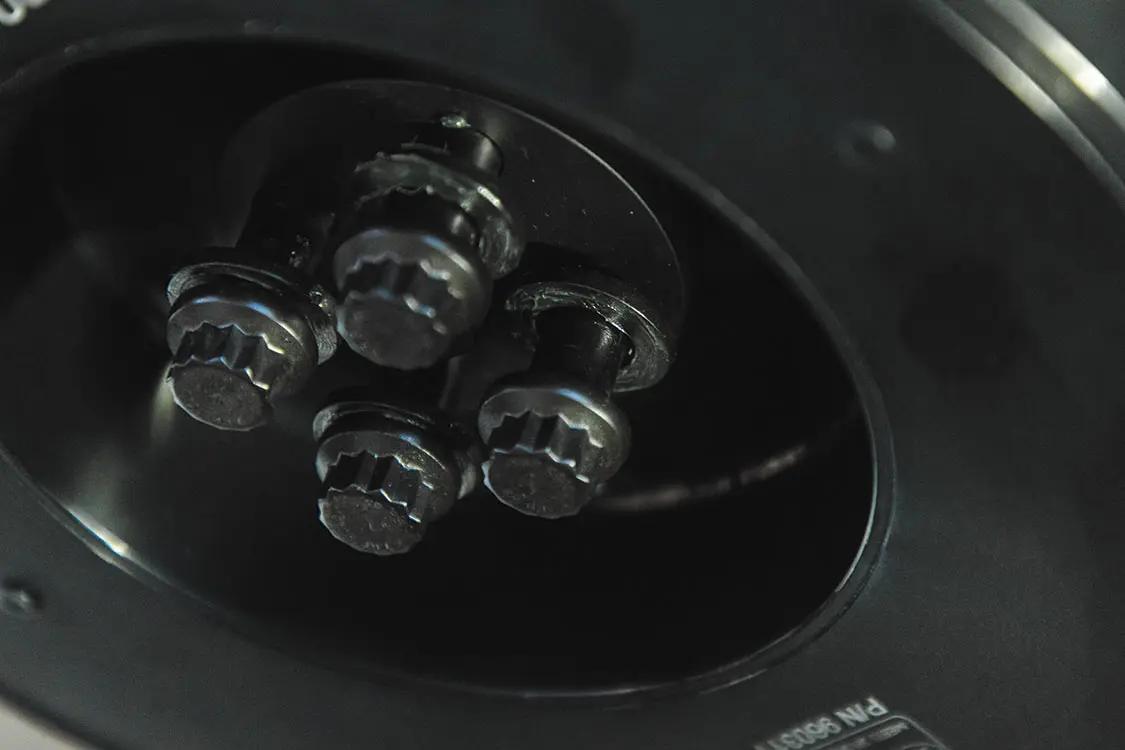
Step 4 Install the washers, bolts, and torque plate. Be sure that the chamfered surface of the washers faces the bolt head.
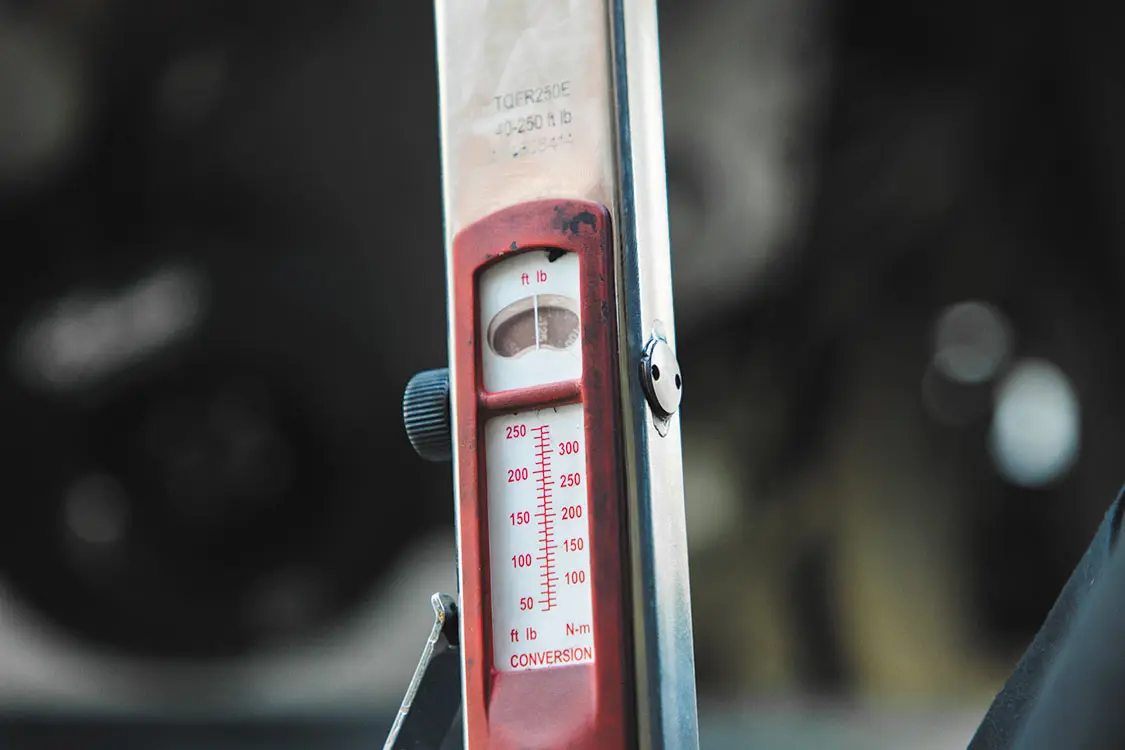
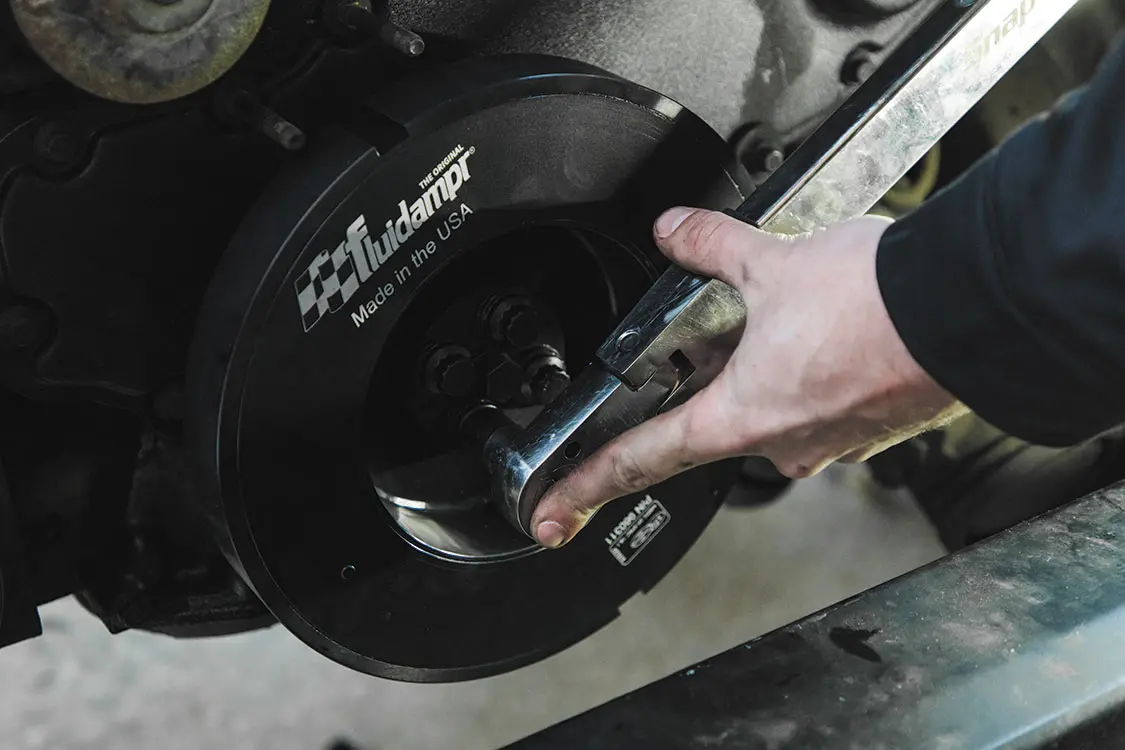
STEP 5 Set the torque wrench at 125 lbft. Tighten all four bolts.
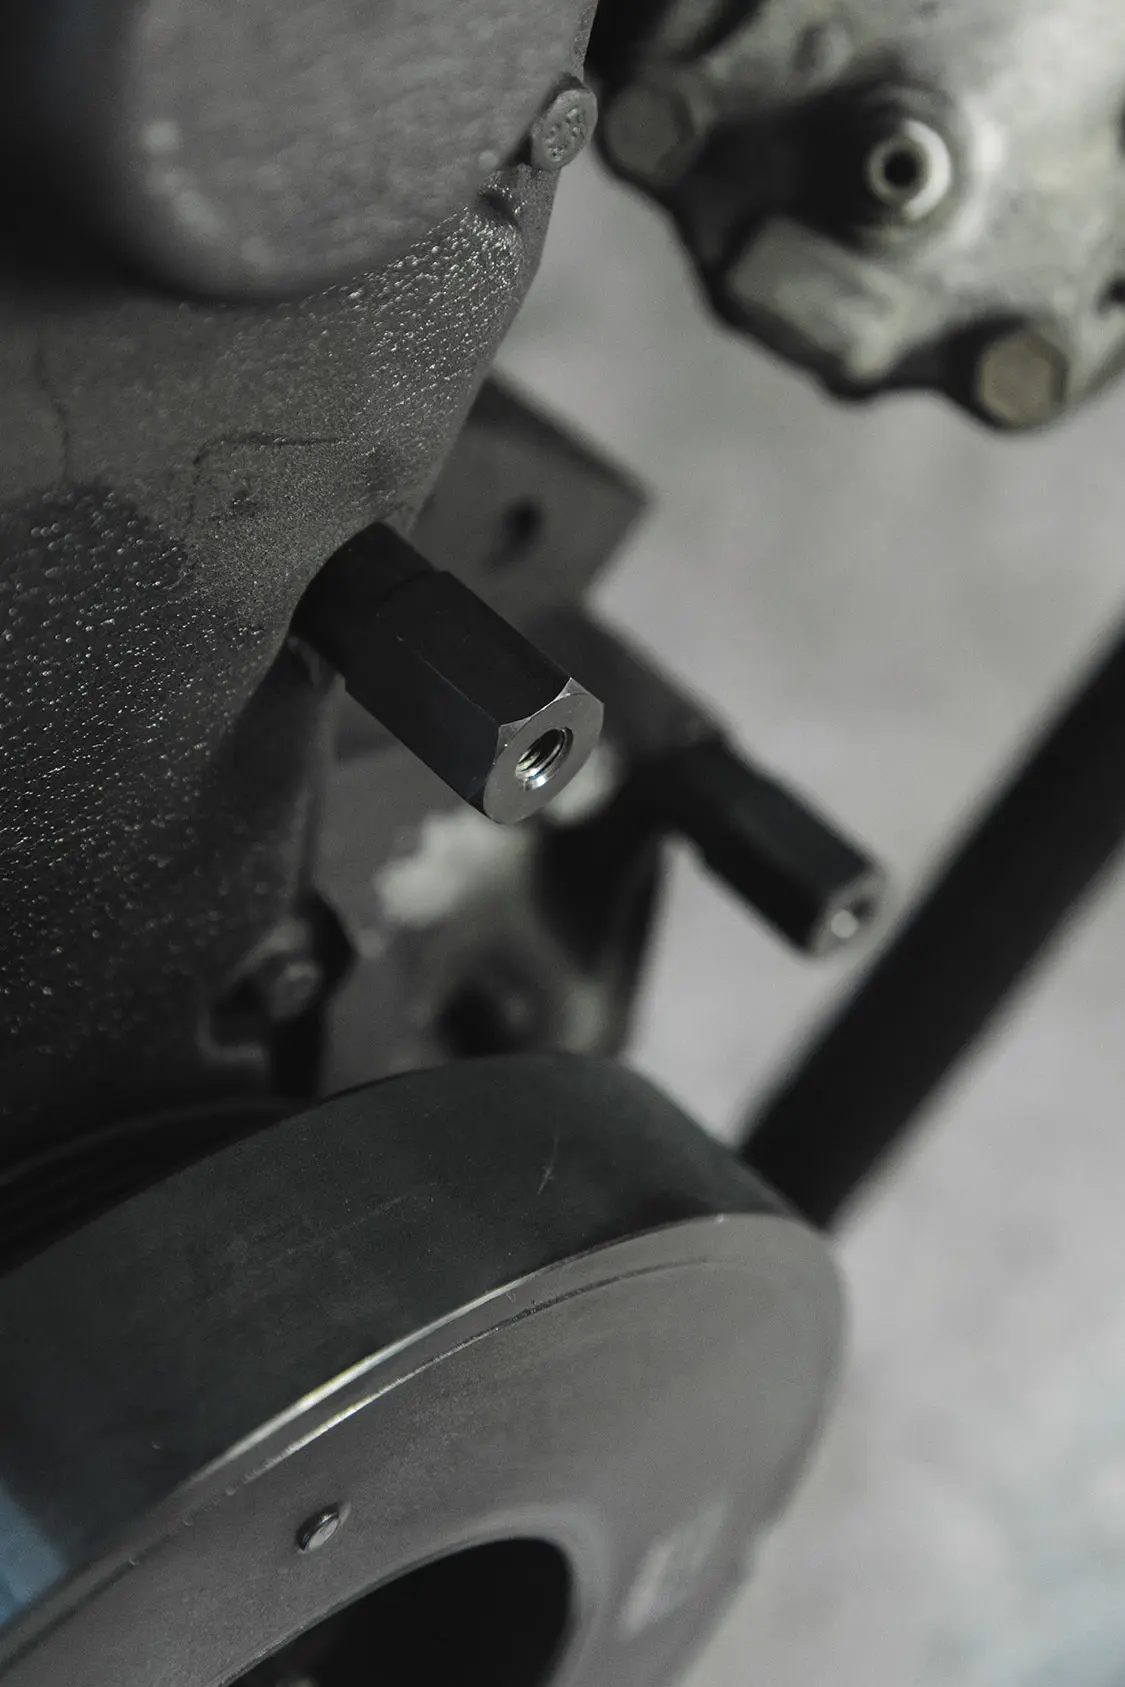
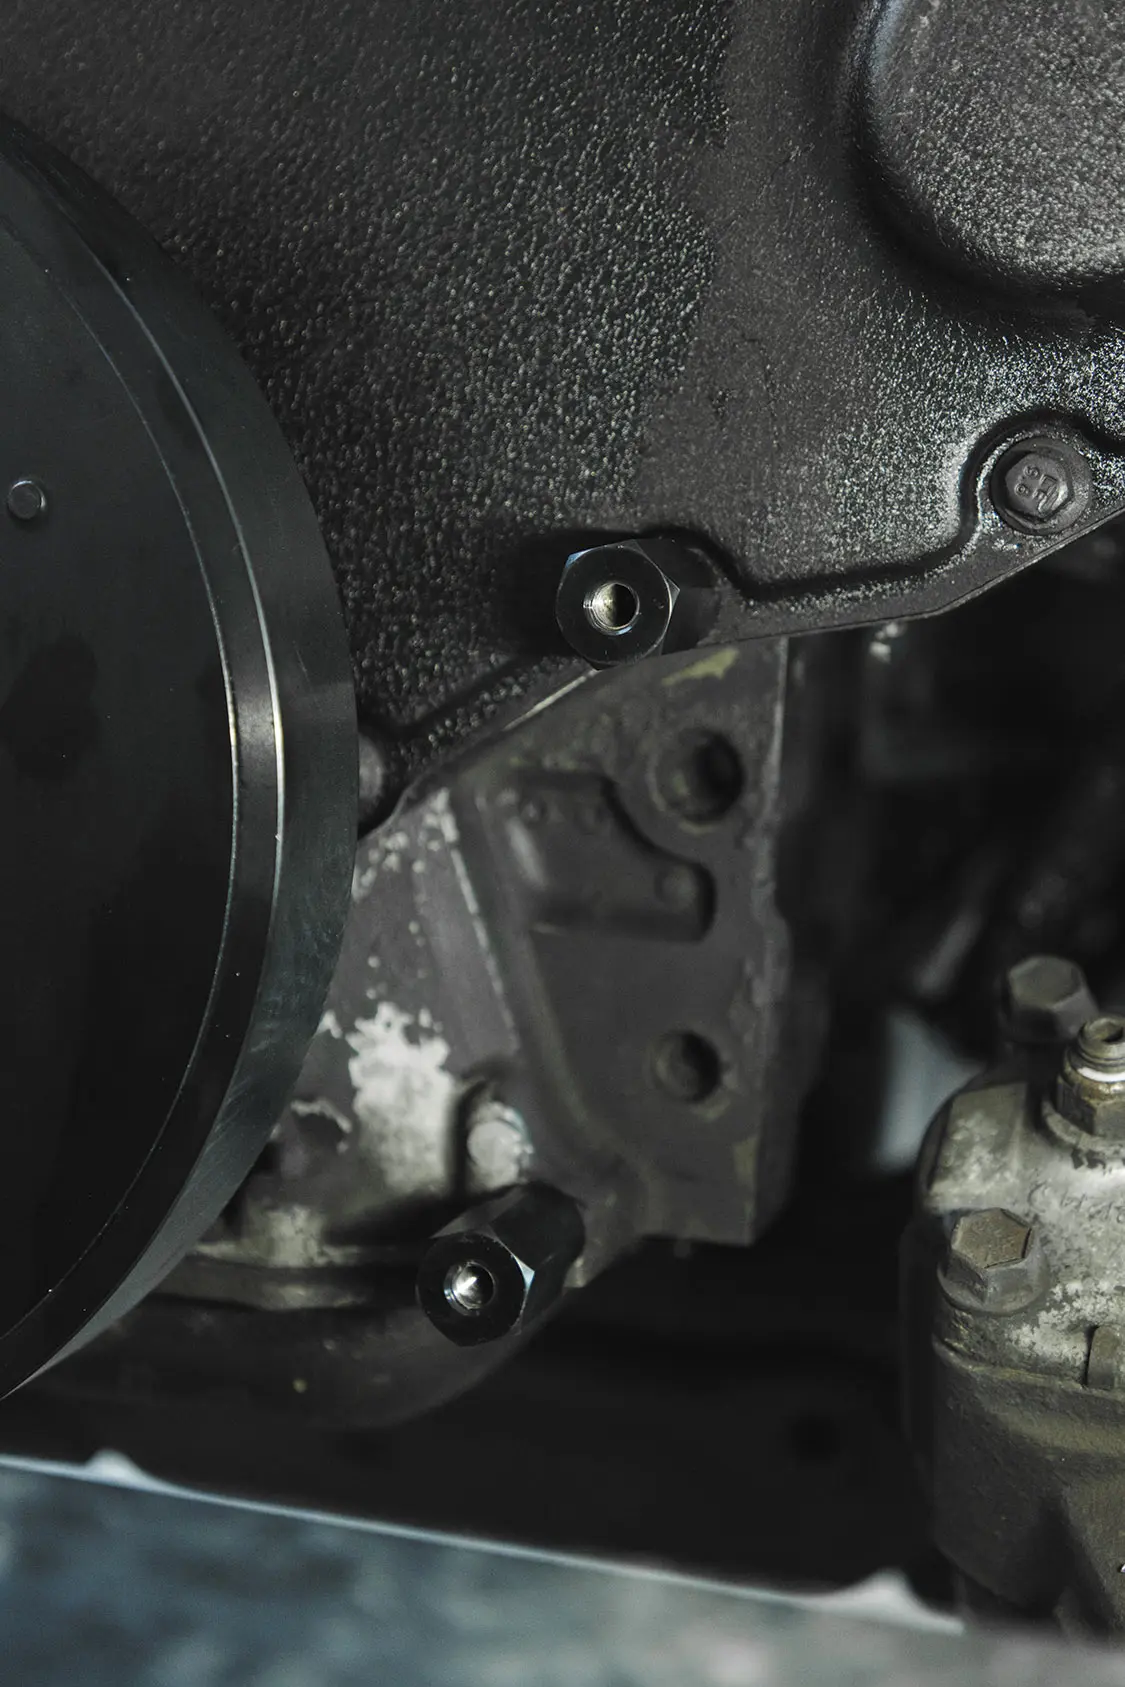
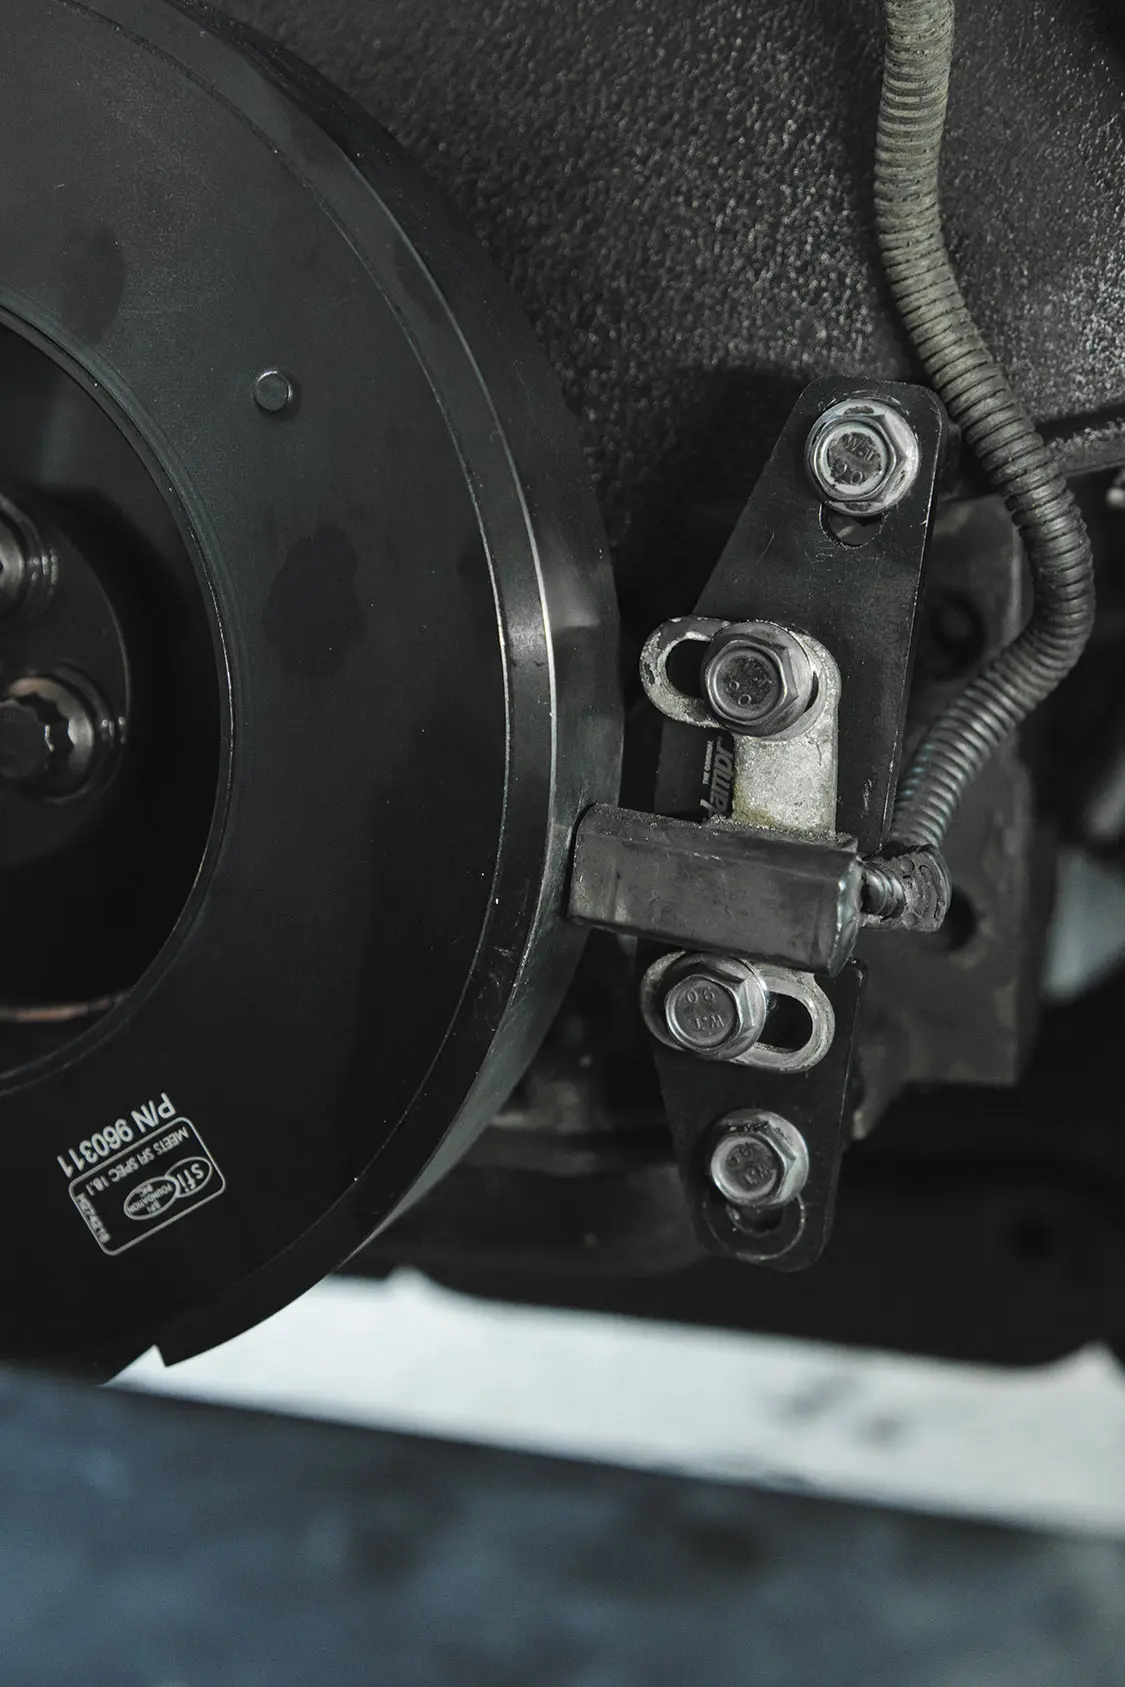
Step 6 Now that we’ve gotten the damper and full power kit installed, we need to get that crank sensor in its new location so we can read RPMs. You’ll need to take out the two stock bolts (pictured in the included instructions) and replace them with the provided mounting studs for the relocation kit.Step 7 Set the sensor to the same height as before, and remember the measurement of the stock gap.You’re done! We’ve just walked you through the very simple, but important steps to adding a full Fluidampr kit on our ’94 RAM Stock to Not project. This damper made our rattly 12 valve not even move while it’s running. If these came factory with these trucks back in the day maybe the dash boards wouldn’t have gone so fast!Nick from Fluidampr deserves our thanks for his collaboration on this project. We can’t wait to represent such an important product that a lot of people don’t realize the true value of in our realm. Here’s to having this engine running as smooth as possible through the abuse we shall put it through!
The post Project Stock To Not: Installing A Fluidampr Balancing appeared first on Diesel World.