
Many Lapidary Projects require a visual of the final project. This is often done by imagining it as if it were a slab. By learning to develop and visualize a pattern, you can reduce the leap of faith. Quite often as I am looking through my crates of slabs, I’m looking for a specific pattern or shape that I have in mind for my next project. Sometimes, I find the slab.
The Right Slab
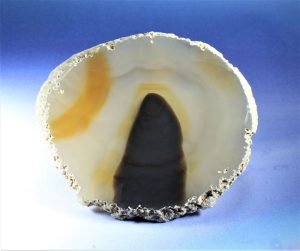
The slab was a little obscured this time because the blade was bad and the surface was rough. It took a coarse sanding cloth to make it smooth enough for me to see the lapidary patterns.
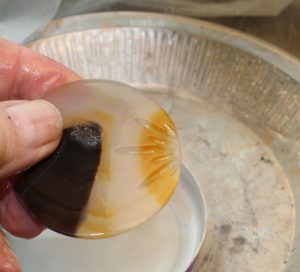
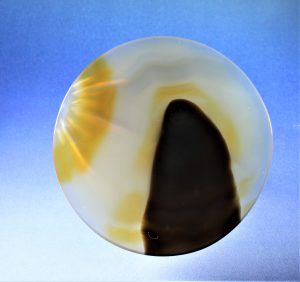
The orange circle at the top left of the slab and the obvious dark mountain dominate the whole thing. The mountain was covered in a faint orange circle.
The orange circle on the left immediately triggered my favorite pattern to work with – the sun. A small pocket of druzy crystals was on the backside but it was badly positioned, and took away from the overall design. It became clear that the only way to capture the entire pattern was with a circle.
Get the Circle Right
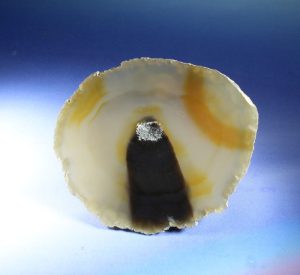
I used a lapidary template with a large circular shape to draw the desired shape onto the slab. Circular shapes are difficult to draw correctly, so I followed the template marks as closely as possible. After completing the shape, I marked the desired girdle height by laying the sharpie down on the side of the girdle and adjusted the height by placing thin cardboard sheets under it. The dome was positioned at the mark and I divided the girdle into two halves. The cab fronts were finished using lapidary techniques.
Make the most of the Sun
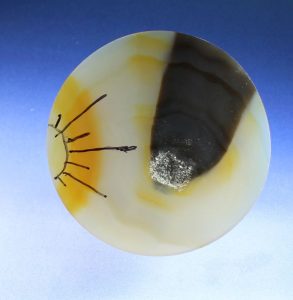
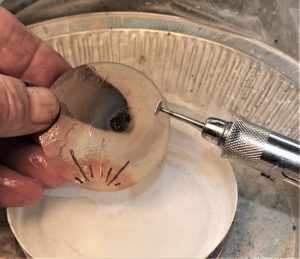
To enhance the sun’s image, I decided carve images of rays of sunlight emanating from that image. I sketched the rays on the back with a sharpie and carefully ground them with a small diamond “V” bur held in my Fordom handpiece. To cool the diamond bur, I used a section carved from a large soda bottle about ¾” deep filled halfway with water. While carving the grooves I would frequently dip the cab into water. As I was grinding the grooves, I looked at them from the back to see how deep they were and how good they looked.
Sanding Grooves
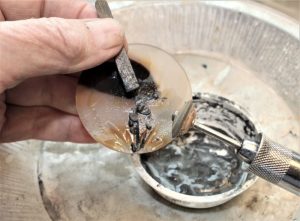
After I had finished grinding the grooves, I was ready for sanding. With a knife-edged bur, I used a paste of tumbling grit 220-grit. Then I used a 400-grit paste and a new woodbur.
Finalizing Your Project
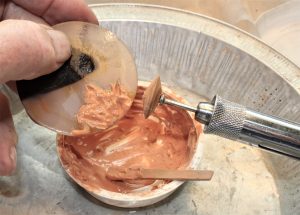
The final step involved a cerium oxide paste and a wood bur with a knife edge. The wood dowels used to make these three burs have been shaped into a coarse-filed shape. The finished product was exactly as I imagined it!
          |
This article about the visualization of lapidary projects and patterns in a slab appeared previously. The following are some examples of how to use Rock & Gem magazine. Subscribe to the magazine by clicking here. Click here to subscribe. Bob Rush.
The post Lapidary: How to Visualize & Develop a Pattern first appeared on Rock & Gem Magazine.
